Mold on awnings signals early fabric failure—it weakens stitching, breaks down water resistance, and spreads quickly in damp folds. Use low-pressure cleaning, fabric-safe solutions, and dry thoroughly to remove mold safely and prevent long-term damage — and our guide to cleaning canvas awnings without damage digs deeper.
How to Clean an Awning with Mold (Without Damaging It!)
Mold doesn’t just stain, it weakens fabric, erodes stitching, and ruins water resistance. Cleaning methods must match your awning’s fabric and features, especially if it’s motorized. One wrong product can cause permanent damage.
Here’s what to know up front:
- Use fabric-appropriate solutions: Mild soap, vinegar, or diluted bleach (if safe for your fabric).
- Always rinse thoroughly: Leftover soap causes more mold.
- Dry fully before retracting: Mold thrives in sealed, damp folds.
- Avoid water near sensors or motors: Use damp cloths, not spray bottles.
- Check folds, seams, and LED housings: These trap moisture and hide early mold.
If the awning still smells musty or has stubborn discoloration after cleaning, it might be time to replace the fabric.
Costs add up quickly if deep mold keeps returning.
Smart sensors, protective sprays, and regular upkeep make all the difference, and knowing when to call in a pro could save your awning for years to come.
Why Mold on Awnings Is More Than Just Ugly
Mold on an awning is more than a cosmetic nuisance, it’s a warning sign of deeper damage.
When left untreated, mold breaks down fabric fibers, weakens stitching, and strips away the water-resistant coatings designed to protect your investment.
- Structural damage: Mold feeds on organic debris caught in fabric seams and fibers. Over time, this leads to fraying, fabric stiffness, and tears that compromise functionality.
- Stitching and sealant issues: Mold tends to settle in seams and thread lines, areas that stay damp the longest. As it grows, it erodes the stitching and reduces the strength of the seams.
- Water-resistant breakdown: Most awnings come with a protective layer that resists water. Mold eats away at this layer, turning your awning into a moisture trap rather than a shield.
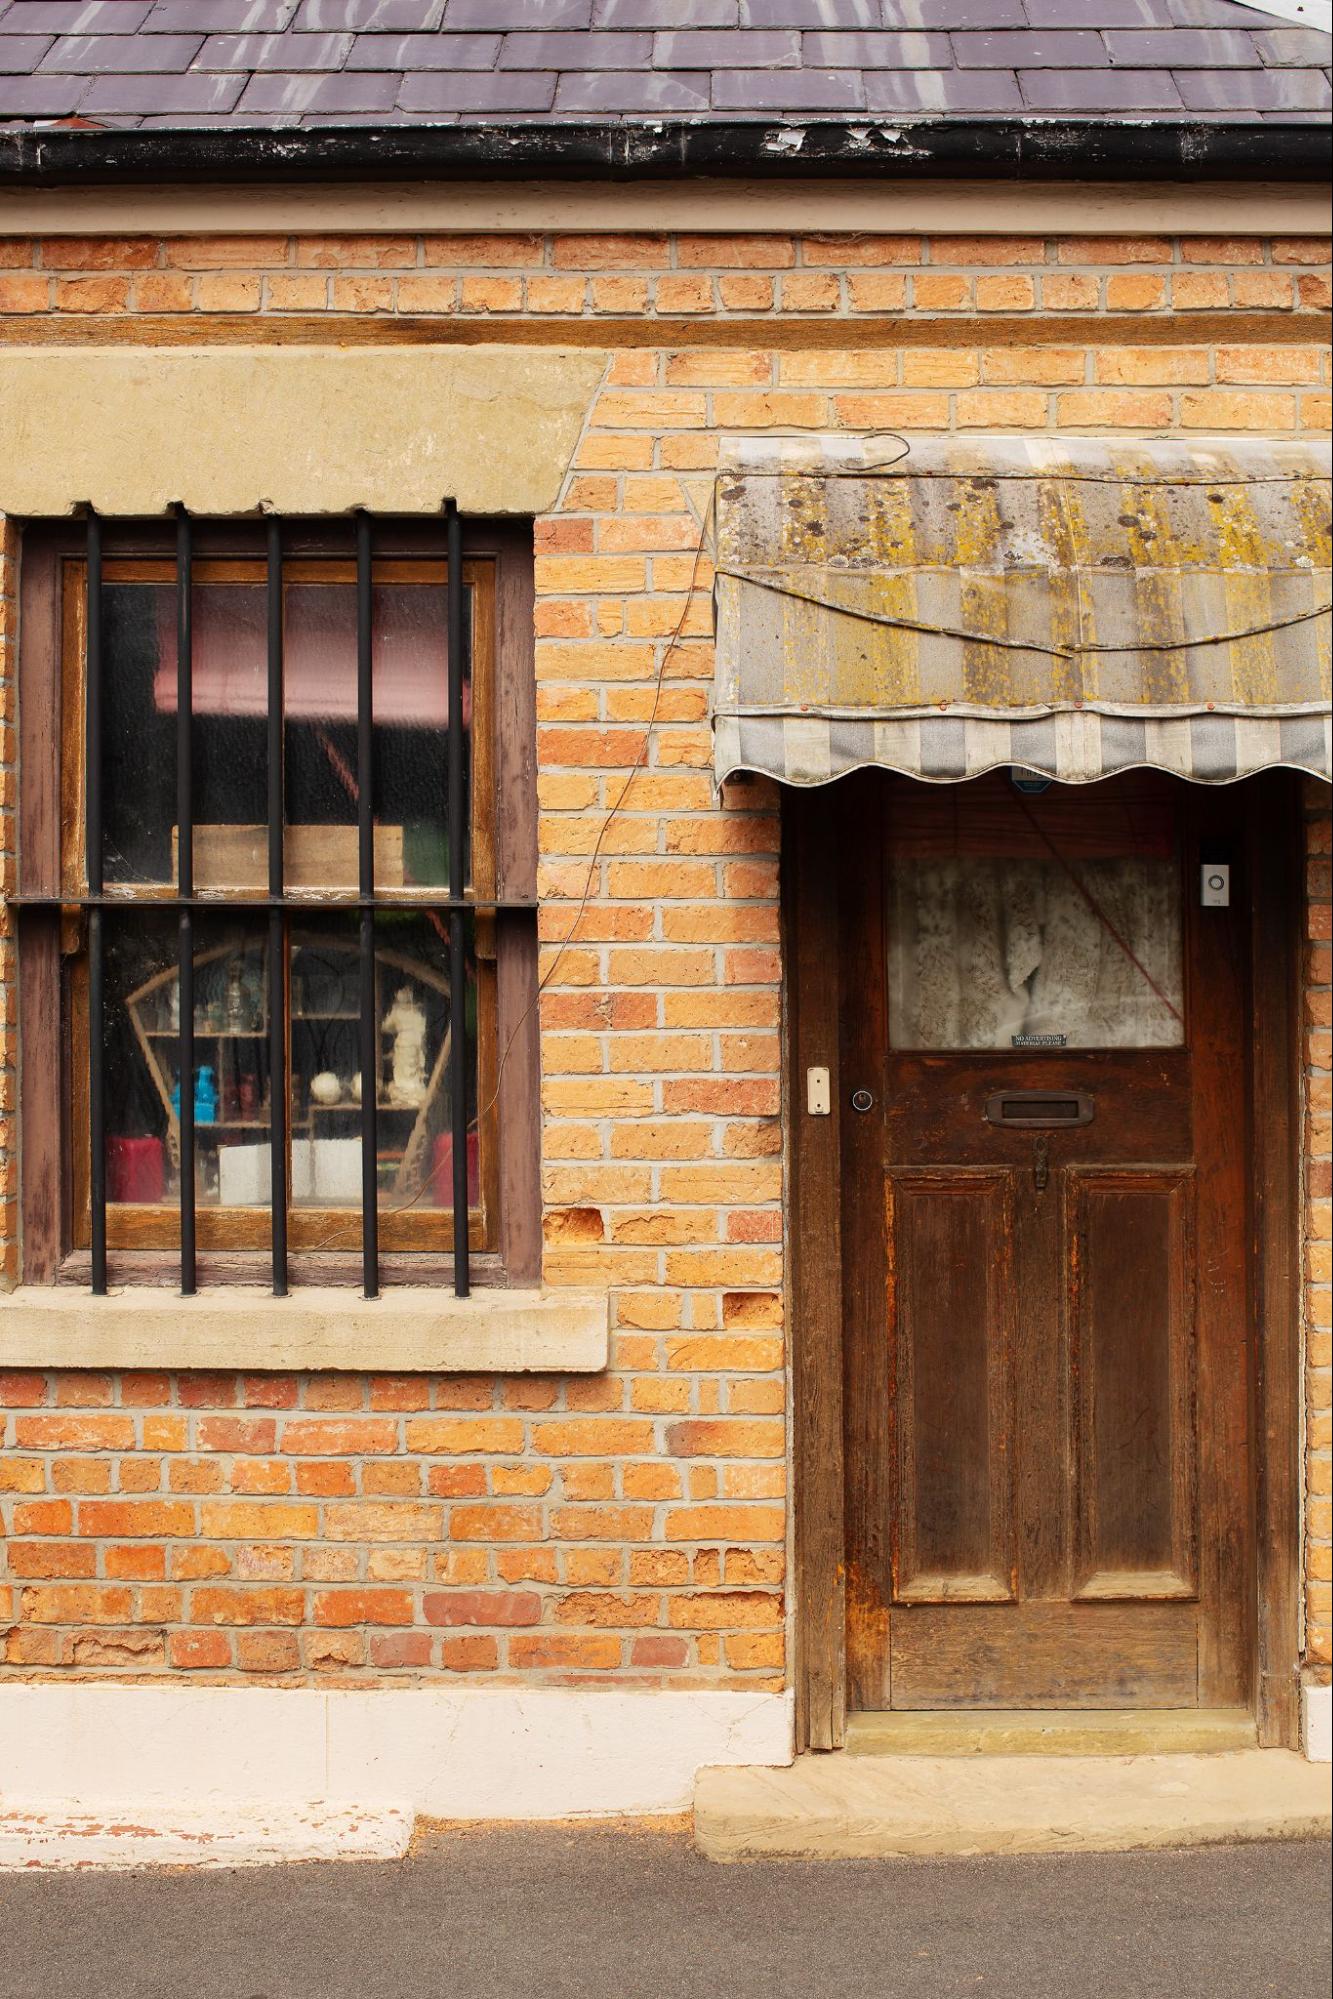
- Mold growth triggers: High humidity, overhanging trees, shaded areas, and infrequent use all contribute to mold development. Mold thrives in moisture-rich environments, exactly what happens when an awning is rolled up while still damp.
- Costly misconceptions: It’s a common mistake to retract an awning while it’s slightly wet. Even one instance can lock in moisture, allowing mold to grow undisturbed inside the housing until visible damage appears weeks later.
Ignoring early signs of mold can turn into costly repairs, or worse, premature replacement. The sooner it’s cleaned and addressed, the longer the awning will protect and perform.
But before you start cleaning, it’s important to understand what your awning is made of and how it’s built.
Before You Clean, Know Your Fabric and Features
Not all awnings are built the same, and how you clean them should reflect that. Skipping the prep work can lead to fabric damage, faded colors, or even electrical issues.
Here’s what to check before you get started:
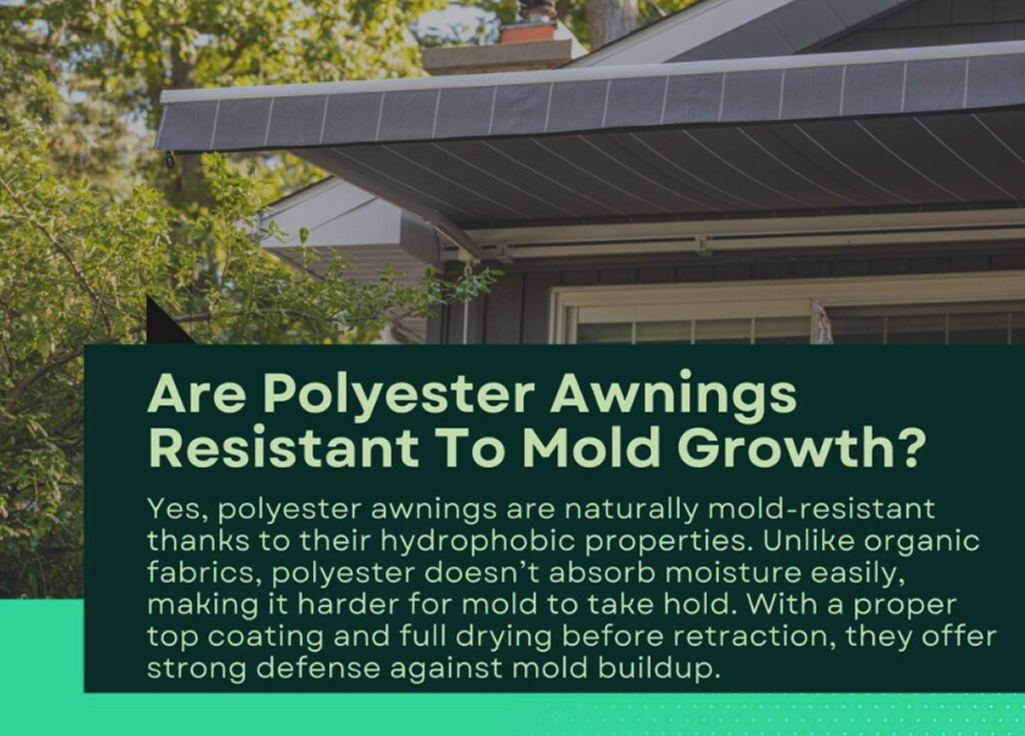
- Canvas, acrylic, polyester and vinyl all behave differently. Canvas absorbs the most moisture and is mold-prone, clean it with cold water and mild laundry soap only. Acrylic requires soaking but resists moisture better. Vinyl is easy to clean but reacts poorly to harsh chemicals. Polyester is more mold-resistant than natural fibers, but still needs proper drying and airflow.
- Confirm your fabric type before applying any cleaner. Using the wrong solution can strip coatings or stiffen the fabric. When unsure, always start with the mildest option.
- Protect motorized parts and sensors. Avoid spraying near electrical components. Use a soft, damp cloth around motors, arms, or LED housings.
- Check common mold zones like seams, folds, valances, and under-lighting. These areas trap moisture longer and are easily missed during quick cleanings.
- Always patch test first. Even mild cleaners can react poorly with certain dyes. Testing a small, hidden area first helps you avoid irreversible damage.
Taking a few minutes to prep, by identifying your fabric and protecting key components, can save you from costly mistakes.
Once you’re ready, here’s how to clean mold the right way without damaging what’s underneath.
The Best Mold Cleaning Methods Without Risking Damage
Once you’ve identified your awning’s fabric and features, it’s time to clean, but carefully. Mold removal isn’t just about scrubbing hard and hoping for the best.
The wrong cleaner or technique can cause fading, fraying, or worse. Here’s how to tackle mold without damaging your investment.
Step-by-Step: Hand-Washing a Moldy Awning
- Step 1: Brush off loose debris using a soft broom or dry cloth to clear the surface before applying any liquid.
- Step 2: Prepare your cleaning solution by mixing ¼ cup of mild soap (like Dawn or Woolite) with 1 gallon of lukewarm water.
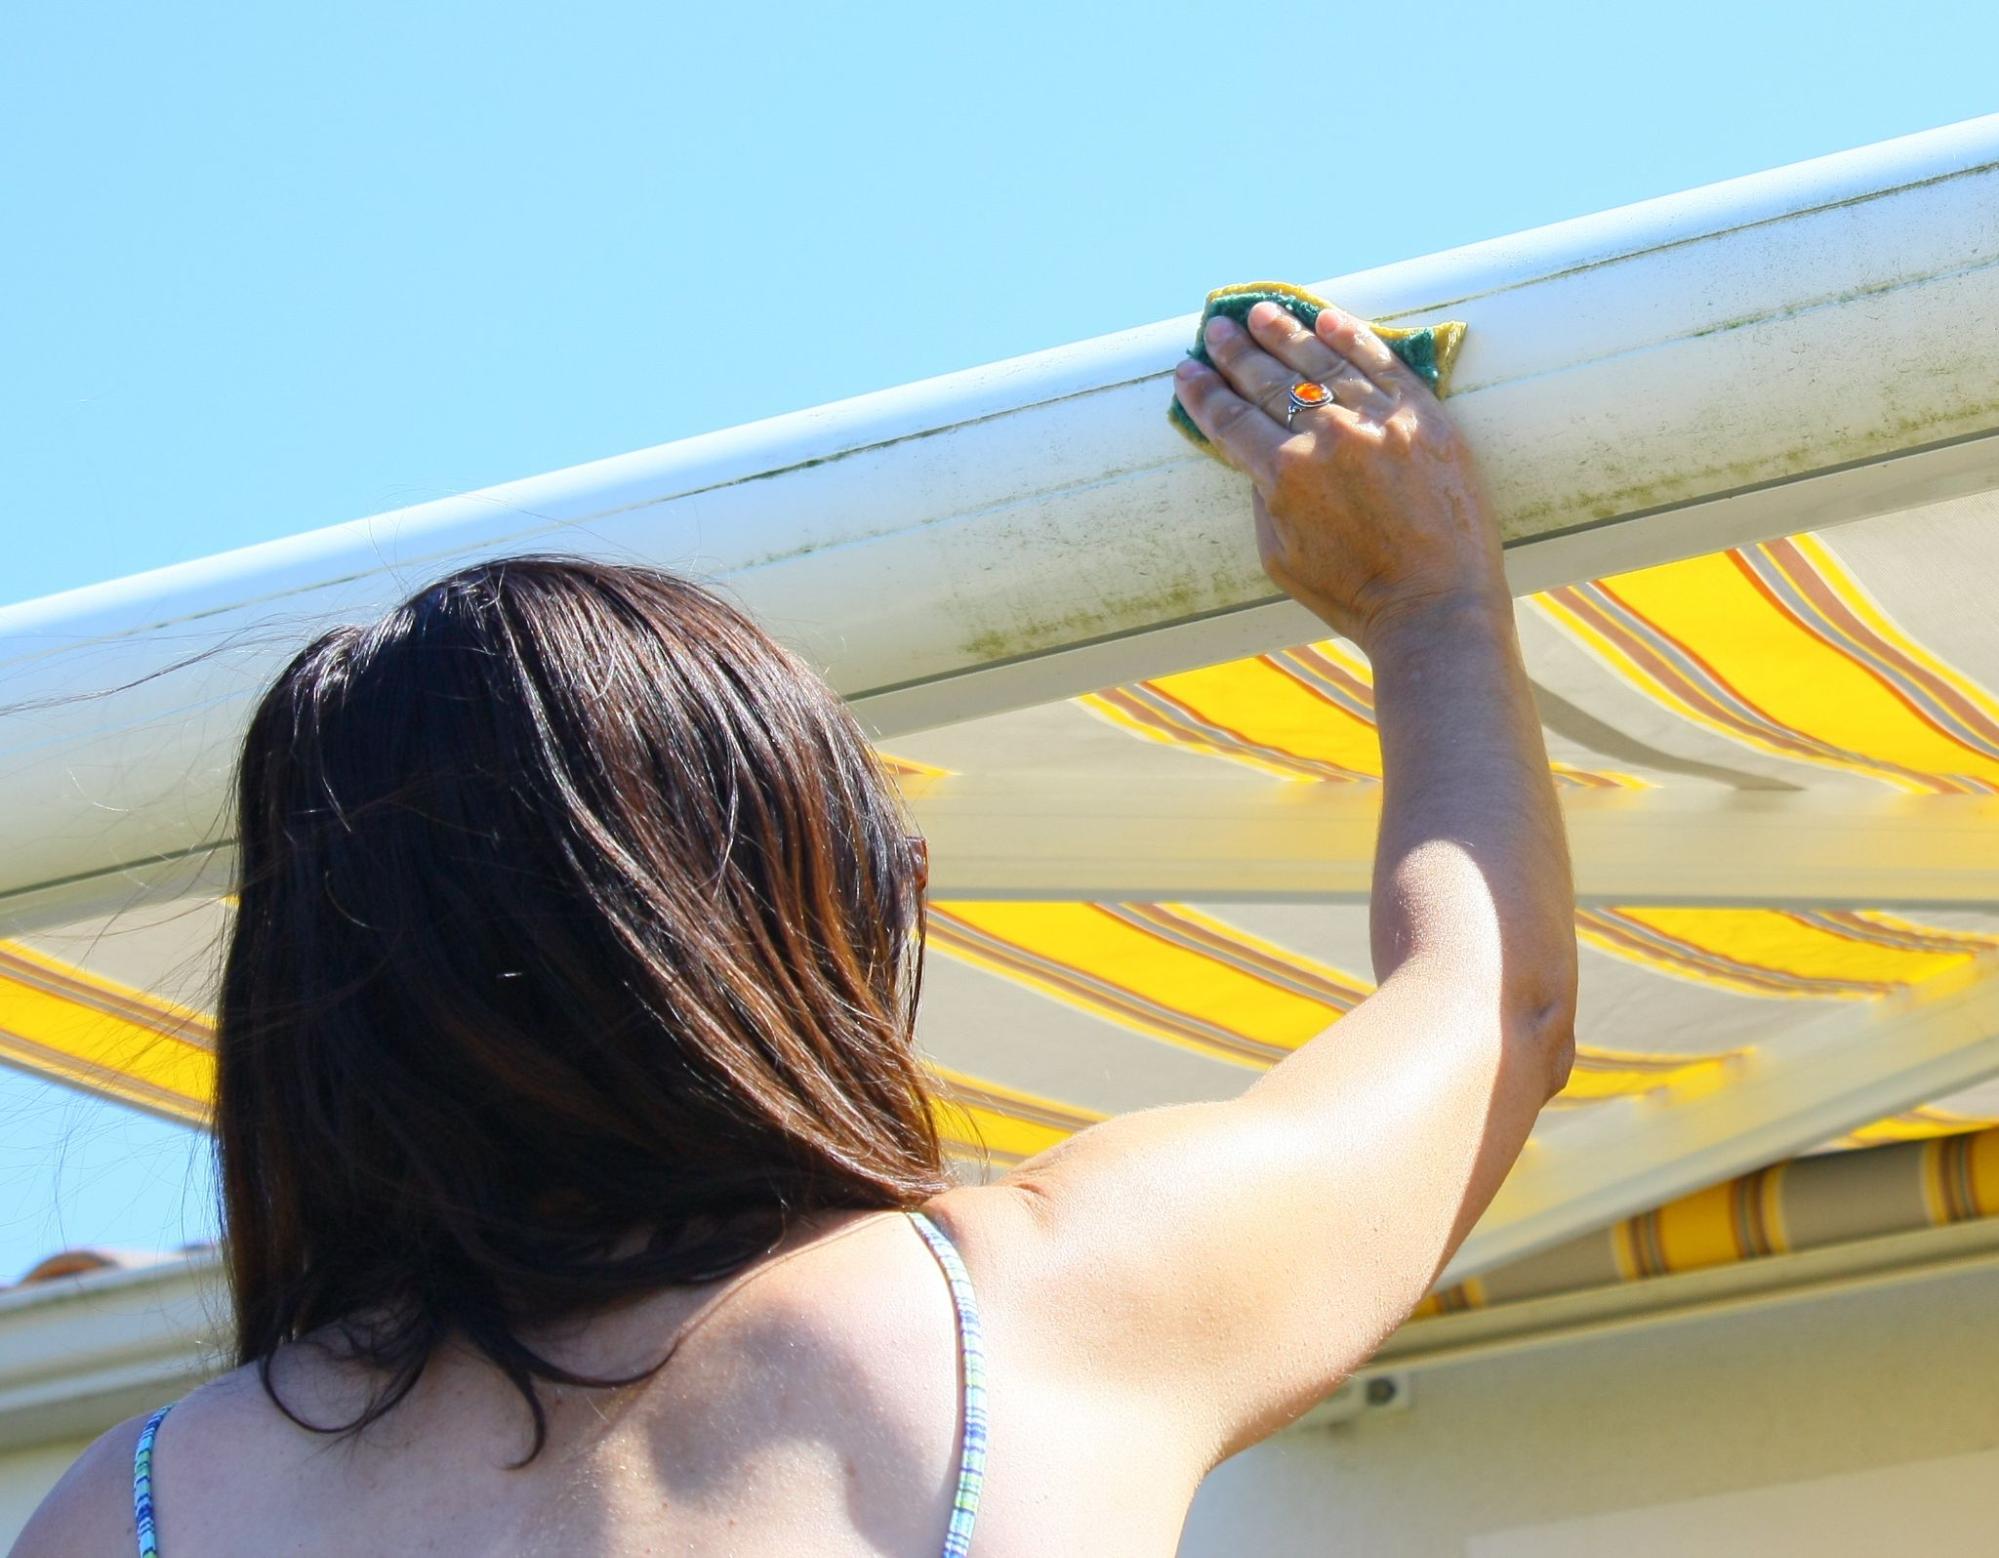
- Step 3: Apply the solution evenly across the fabric using a soft-bristle brush or sponge.
- Step 4: Let the solution soak into the fabric for 10–15 minutes to loosen mold and stains.
- Step 5: Gently scrub the fabric, focus on visibly affected areas, but don’t overscrub, especially near seams.
- Step 6: Rinse thoroughly with clean water, paying close attention to seams, folds, and stitching to ensure no residue is left behind.
- Step 7: Allow the awning to air dry fully before retracting it to avoid trapping moisture.
Once you’ve completed the basic cleaning process, it’s time to fine-tune your approach.
Not all mold cases are equal, and what works on one fabric may damage another.
The next few tips will help you adjust for severity, fabric sensitivity, and hard-to-reach areas, without compromising the integrity of your awning.
- Use the right cleaning ratios: For light mold, mix white vinegar and water in a 1:1 ratio. For deeper infestations, you can use 1 part bleach to 9 parts water, but only if your fabric’s care guide permits it. Never mix bleach with ammonia or other chemicals.
- Match tools to your fabric: Use soft-bristle brushes for canvas and acrylic to avoid abrasion. For vinyl or coated fabrics, microfiber cloths are safer. Skip scouring pads, they can strip away protective coatings and shorten fabric life.
- Rinse thoroughly: Residual soap or cleaner can attract more dirt and even promote new mold growth. Rinse generously, especially around seams, folds, and stitching where residue tends to collect.
- Be cautious with pressure washers: Most awnings can’t handle direct high-pressure cleaning. Use only on durable vinyl, with the lowest setting and ample distance. Avoid using on canvas or acrylic altogether.
- Tackle mold hiding in folds: Mold tends to collect in hard-to-reach seams and valances. Let your cleaning solution soak longer and reapply as needed. For stubborn spots, a 6:1 water to hydrogen peroxide mix can help loosen growth.
- Choose mold-safe commercial cleaners: Products like Starbrite and Simple Green Oxy Solve work well on synthetic materials. Always patch-test first and pick formulas labeled safe for outdoor fabric use.
With your fabric mold-free and properly rinsed, there’s one more step if your awning includes smart features.
Motorized systems require extra care to ensure cleaning doesn’t lead to costly damage, especially around sensors and moving parts.
How to Clean a Motorized or Smart Awning Safely
Motorized and smart awnings offer unmatched convenience, but cleaning them requires more precision.
These systems contain sensitive components like motors, sensors, and control panels that can malfunction if exposed to water or harsh cleaners.
Here’s how to clean safely without risking damage to your investment.
- Avoid direct water contact with electronics: Never spray water directly on or near motors, control boxes, or sensor units. Even a small amount of moisture can lead to corrosion or short-circuiting over time.
- Clean retraction systems with care: Use a damp (not soaked) microfiber cloth to wipe down areas near arms, joints, and mounting brackets. Always turn off power to the unit before cleaning around mechanical parts.
- Dry thoroughly to prevent corrosion: After cleaning, ensure that all exposed metal components, especially those near moving parts, are completely dry. Use a soft towel or allow extra time for air drying before retracting.
- Lubricate only with approved products: Once dry, apply a silicone-based or paraffin spray lubricant to moving joints and elbows. Avoid WD-40, as it can attract dirt or drip when exposed to sun and heat.
- Don’t spray cleaners near control panels: Spray cleaners onto a cloth first, never directly onto surfaces with buttons or sensors. Overspray can seep into crevices and cause long-term electrical issues.
Smart awnings may need more delicate handling, but they’re just as vulnerable to moisture as the fabric itself.
Once you’ve cleaned every part safely, it’s what you do next that determines how long your awning stays mold-free.
Post-Cleaning Steps You Can’t Skip
Cleaning mold off your awning is only part of the process, what you do afterward plays a big role in preventing future issues and extending the life of your awning.
These post-cleaning steps are easy to overlook, but skipping them can lead to repeat mold problems, rust, or unnecessary wear.
1. Why Air Drying Is Mandatory Before Retraction
Never roll up a damp awning.
Trapped moisture creates a sealed, humid environment that’s perfect for mold to return, sometimes even worse than before.
Always allow the fabric to air dry completely before retracting, even if that means leaving it open for a few extra hours.
2. How to Apply Fabric Protection Spray After Cleaning
Once the awning is dry, apply a fabric protector designed for outdoor use.
These sprays restore the water-repellent barrier and help resist future mold buildup. Be sure to follow the manufacturer’s instructions and cover nearby surfaces to avoid overspray.
3. Methods for Reducing Water Retention in Seams and Folds
Folds, stitching lines, and valances tend to retain water even after rinsing.
Gently lift and shake out these areas if possible, or blot them with a soft, absorbent towel. Pay extra attention here to avoid mildew regrowth in hard-to-see spots.
4. Inspecting for Rust or Frame Wear During Cleaning
As the awning dries, inspect the arms, brackets, and hardware for rust or deterioration.
Spotting issues early makes future maintenance easier and prevents mechanical failures down the road.
5. Treating Frames with Rust-Resistant Paint to Extend Life
If you notice any chipping paint or surface rust, lightly sand the area and apply a rust-inhibiting enamel spray.
Keeping the frame sealed helps prevent further corrosion, especially in coastal or high-humidity regions.
Taking these extra steps after cleaning doesn’t just protect your awning, it makes the results last longer. But depending on the condition of your awning, a DIY clean might not always be the right call.
How to Choose Between DIY, Soft Wash, and Professional Cleaning
Not all mold situations call for the same cleaning approach. Depending on the fabric condition, mold severity, weather, or mechanical accessibility, you may need to adapt your strategy.
Here’s how to decide what works best, and when to hand it off to a pro.
1. When DIY Works and When to Call a Pro
DIY cleaning works well for light to moderate mold buildup, especially if the fabric is in good shape and you can access all areas safely.
But if there’s extensive staining, persistent odor, or signs of material breakdown, it’s best to call a professional who understands mold-safe treatments for outdoor fabrics.
2. Advantages and Limitations of Soft Washing Techniques
Soft washing uses low-pressure water combined with gentle cleaners to lift mold. It’s safer than pressure washing for most fabrics but may not reach deep mold in seams or folds.
It also requires more drying time and careful rinsing to avoid residue buildup.
3. Warning Signs That Indicate Deep Mold Damage
If the awning feels stiff, smells musty even after cleaning, or shows visible dark streaks embedded in seams, there may be deeper mold damage.
These are signs that cleaning alone won’t solve the issue and may even worsen it without expert help.
4. Tips for Cleaning in Colder Climates or During Off-Seasons
In fall or winter, avoid using cold water that can freeze on contact or make fabrics brittle.
Clean on a dry day when temperatures are above freezing, and allow extra drying time to avoid moisture being trapped when retracted.
Guide on How To Winterize Your Awning —> https://marygrove.com/winterize-retractable-awning/
5. Dealing with Limited Access
If the awning doesn’t fully extend due to mechanical issues, avoid forcing it open. Clean only what’s reachable and contact a technician to address the mechanical fault first.
Trying to clean partially extended fabric can cause uneven wear or damage motor systems.
No matter which cleaning method you choose, the key to long-term success is what you do next. A few simple habits can make all the difference in keeping mold from coming back.
Proven Tips to Keep Mold from Coming Back
Mold prevention starts with small habits that keep moisture out and airflow in. Here’s how to reduce the chances of mold making a comeback:
- Retract only when fully dry: Moisture trapped inside a rolled-up awning is the most common cause of mold. Always let the fabric air dry completely before retracting.
- Use smart sensors: Wind and rain sensors can automatically retract your awning in bad weather, reducing water exposure and eliminating the need to rush out during a storm.
- Add wind poles and front screens: These accessories stabilize the awning and help deflect rain, minimizing splashes and moisture buildup, especially on the underside.
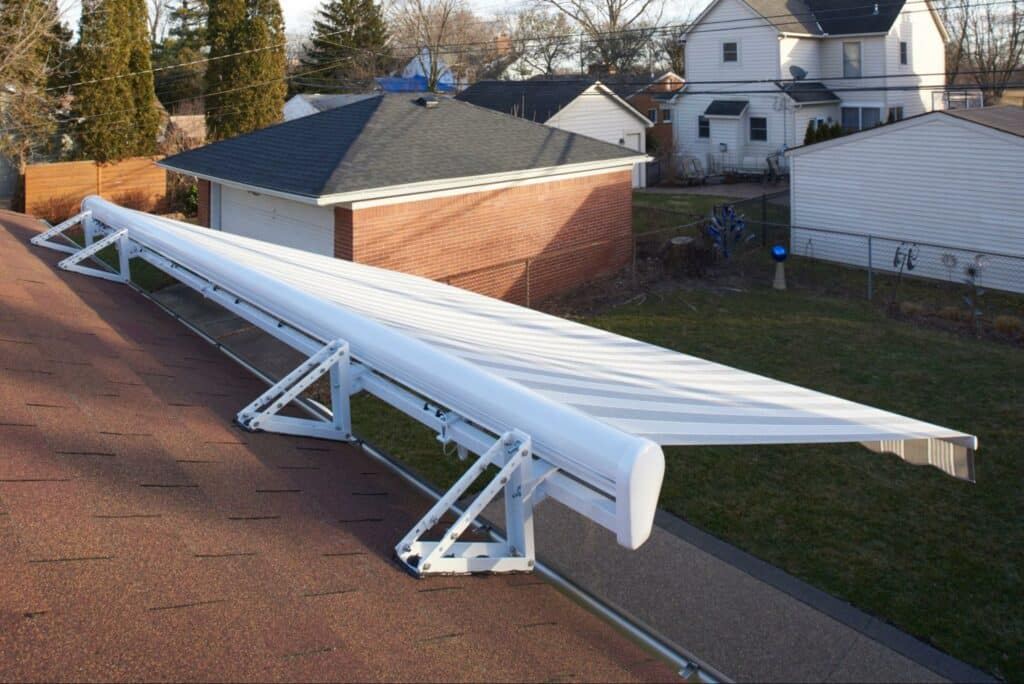
- Choose mold-resistant materials and full cassettes: Fabrics designed for outdoor use resist moisture better, and full cassette housings provide complete coverage when retracted, keeping out rain, snow, and debris.
- Stick to a regular cleaning schedule: Clean your awning at least twice a year, more often if it’s shaded or near trees. Quick rinses after heavy rain or pollen buildup can also go a long way in preventing mold.
All that said, even the best prevention routines have limits. When mold keeps coming back or causes deeper damage, it might be time to consider a more permanent solution.
When It’s Time to Replace a Moldy Awning
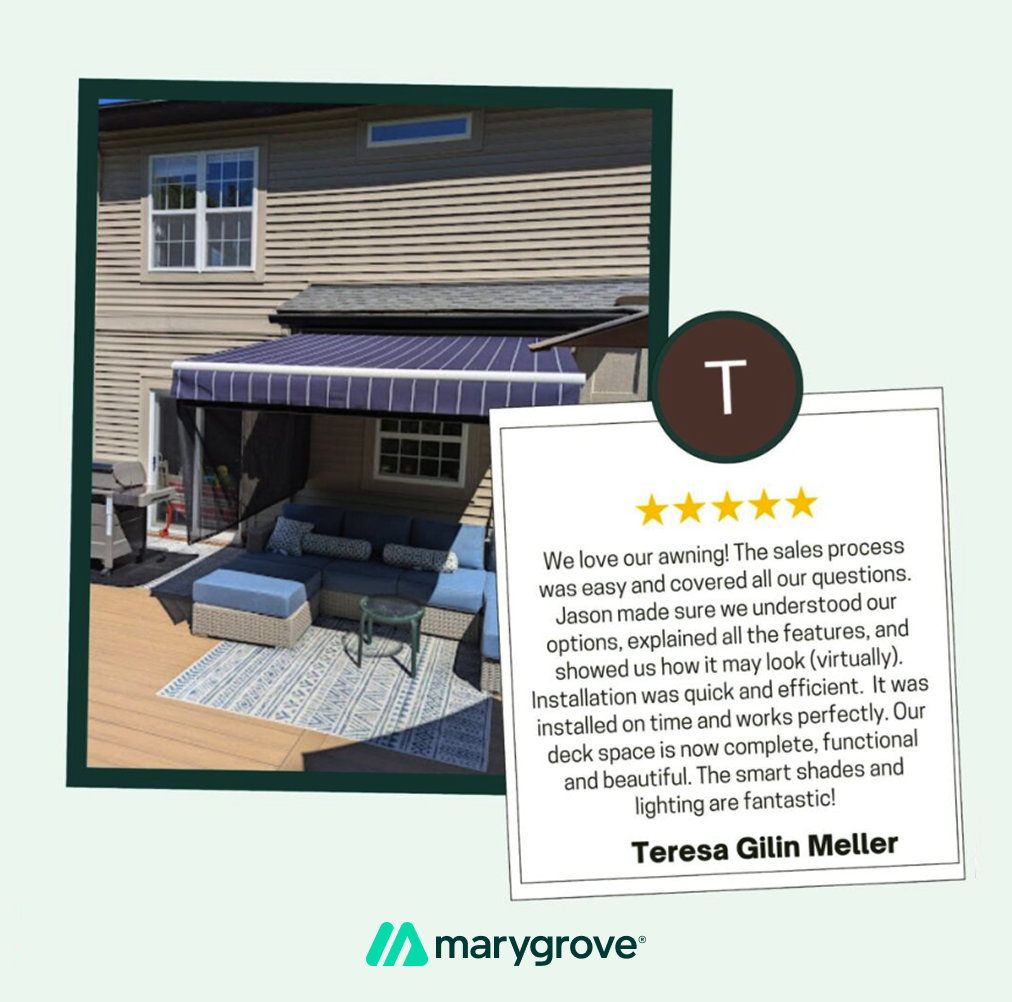
Dave Jacek Retractable Awning Customer Testimonial
Not all mold damage can be reversed.
In some cases, cleaning only masks a deeper problem, and continuing to use a compromised awning may lead to safety risks or long-term structural damage. Here’s how to know when it’s time to stop scrubbing and start replacing.
1. Signs That Mold Has Compromised the Structure
If the fabric feels brittle, has deep discoloration that won’t lift, or shows signs of fraying near seams, mold may have weakened the material beyond repair.
Stubborn odors that return after cleaning also indicate internal contamination.
2. Cleaning vs. Canvas Replacement
In cases of widespread mold, the cost of repeated cleanings and treatments can quickly add up.
Replacing the fabric, especially if the frame and mechanics are still in good condition, can be a more cost-effective long-term solution.
3. When Replacement Makes More Sense
If your awning has visible holes, rotting seams, or mold growth that keeps returning, replacement is often the smarter choice.
This is especially true for older units where fabric integrity is already declining.
4. Check Your Warranty
Some warranties cover mold-related damage, especially if the issue occurred despite proper maintenance.
Check your documentation or contact your provider to see if replacement costs might be offset.
5. What to Expect When Ordering New Fabric or Parts
Replacement fabric can often be ordered to fit your existing frame. Expect lead times based on fabric availability and customization.
In some cases, a full system upgrade may be the better investment.
Knowing when to replace saves more than just time, it protects your space, your safety, and your wallet from ongoing issues that cleaning can’t fix.
Conclusion: A Clean Awning Is a Long-Lasting Awning
Preventing mold is all about consistency. Clean with fabric-safe solutions, rinse thoroughly, and always let the awning dry completely before retracting.
Match your cleaning approach to the material and take care around sensors and motors on smart models.
Features like rain and wind sensors aren’t just convenient, they actively protect against mold by limiting moisture exposure.
Regular inspections after storms and seasonal cleaning keep small issues from turning into costly repairs.
With a little effort and the right habits, your awning will stay cleaner, last longer, and keep your outdoor space looking its best year-round.
If you’re facing mold damage that cleaning can’t fix, Marygrove is here to help.
From custom-fit replacements to fully enclosed smart awnings, our team delivers long-lasting solutions with white-glove service, so you can get back to enjoying your outdoors, worry-free. — and our guide to how long do awnings last? lifespan digs deeper.