The best way to keep your canvas awning looking new is to clean it lightly once or twice a year. It doesn’t take much, just a few smart steps and the right approach.
Here’s the method we recommend:
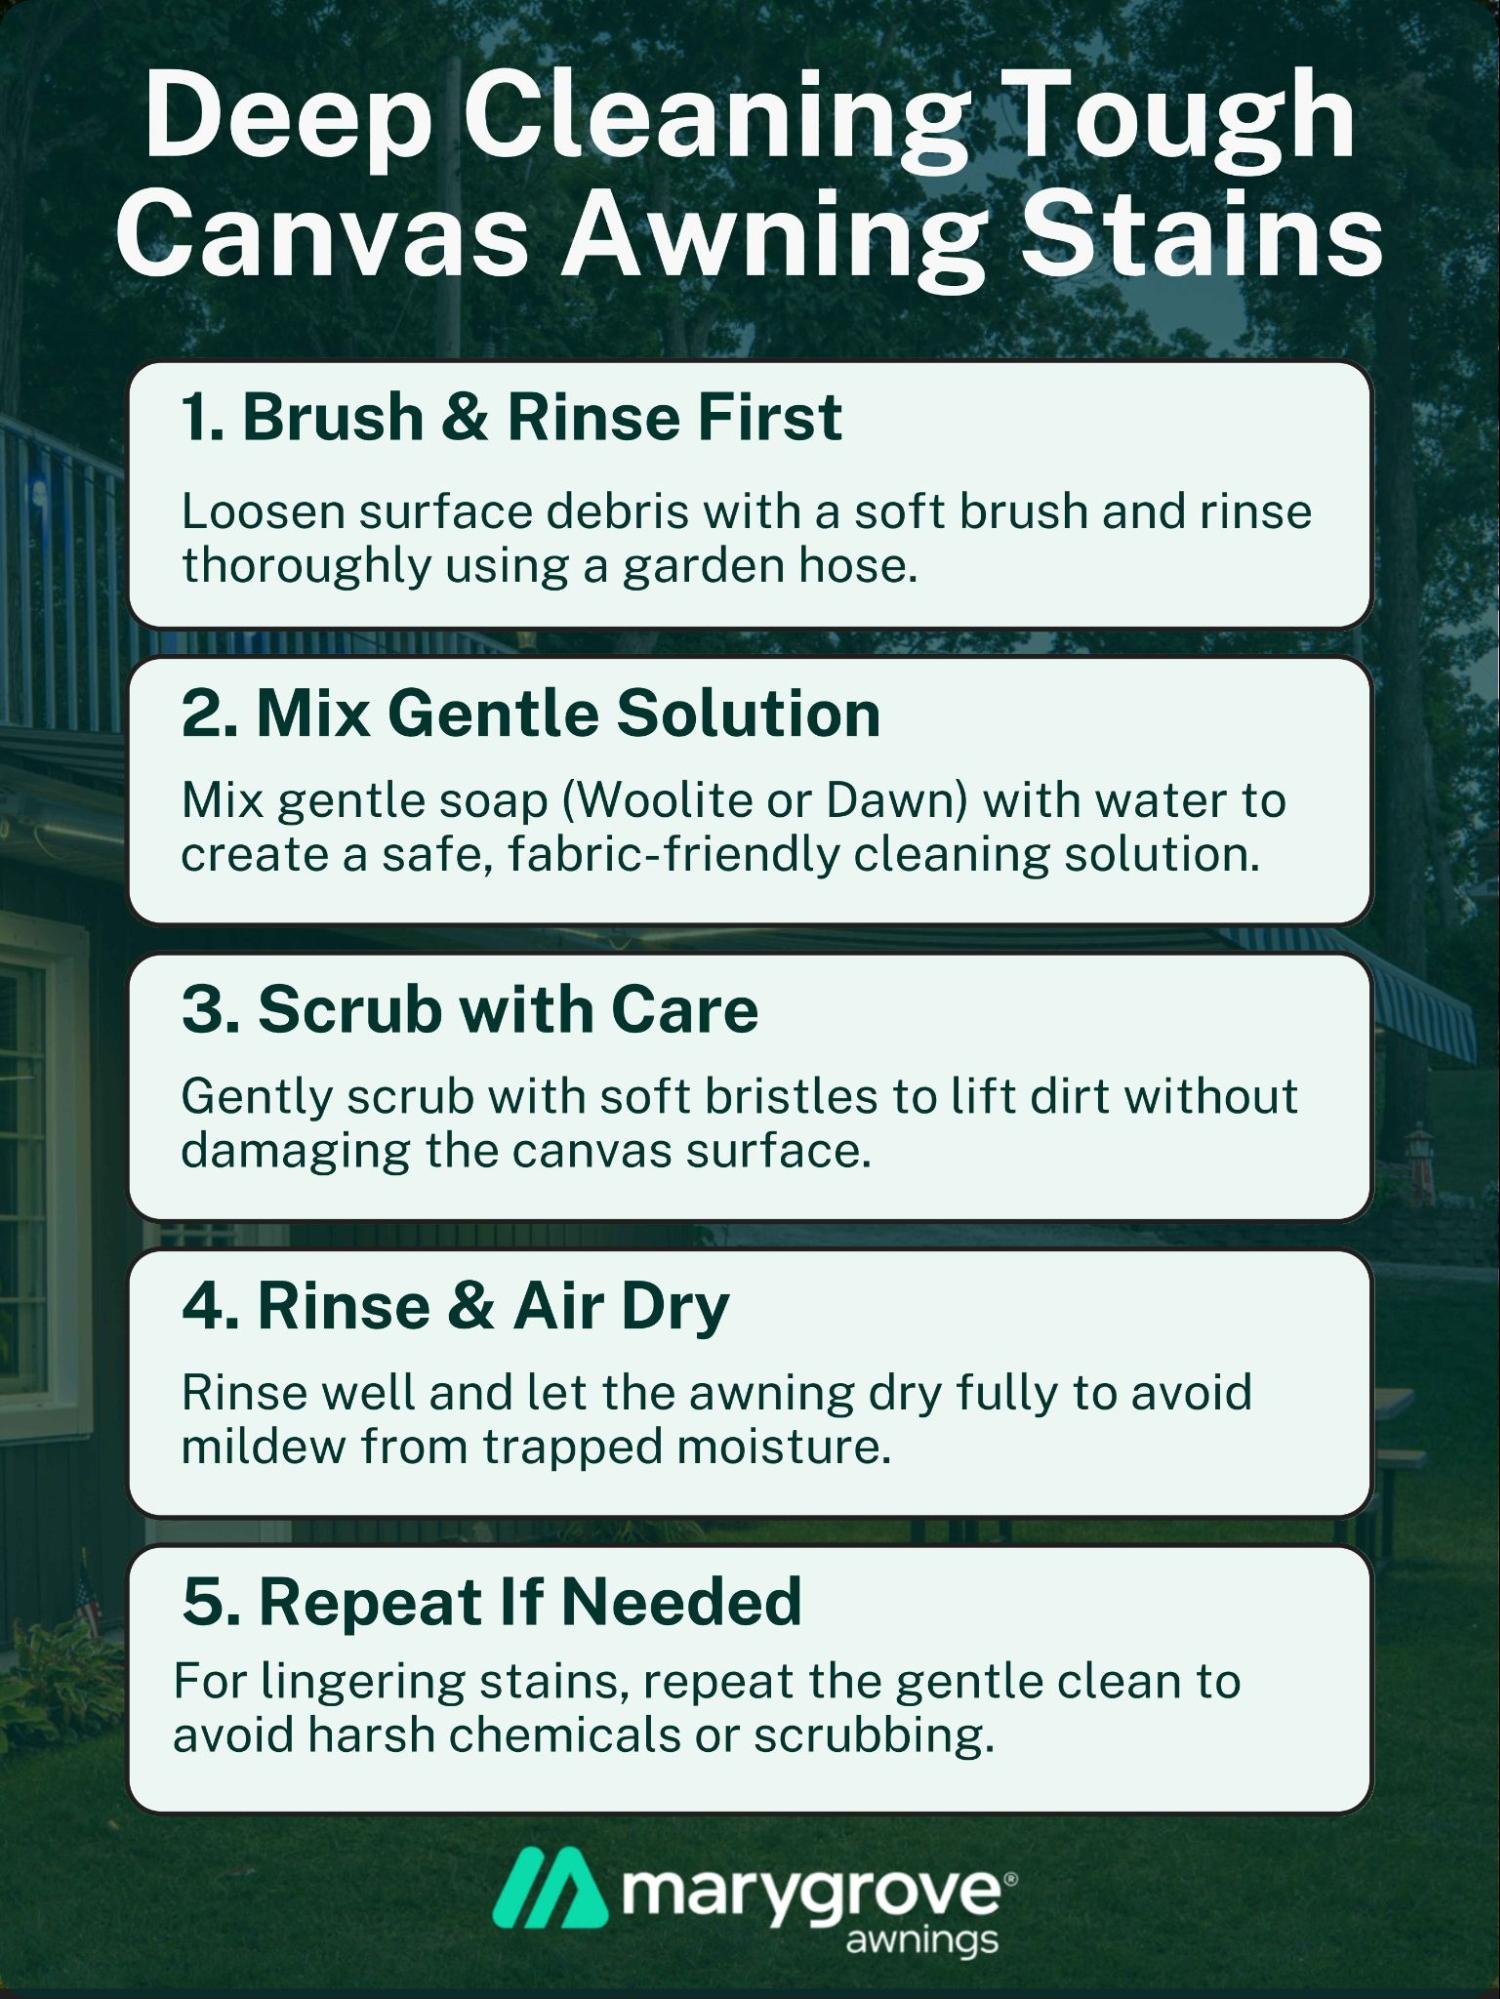
- Brush off loose dirt and hose the awning down with clean water.
- Mix a mild cleaning solution using water and a gentle soap like Woolite or Dawn.
- Use a soft bristle brush to scrub the fabric carefully, focusing on trouble spots without over-saturating.
- Rinse thoroughly until no soap remains, then let the fabric air dry completely.
- Repeat as needed for stubborn spots, but never force it with high pressure or harsh chemicals.
Read on to see how to clean without a ladder, what tools actually work, and how smart awnings make cleanup easier than ever.
Before You Begin: The Canvas Awning Cleaning Checklist
Before you grab a hose or scrub brush, there are a few things to get right.
Skipping these simple prep steps is where most people go wrong, and where small mistakes turn into costly problems.
1. Identify Material: Canvas vs. Acrylic vs. Vinyl
Not all awnings are created equal.
Canvas is often mistaken for synthetic options like solution-dyed acrylic or vinyl, but it behaves very differently when cleaned.
Canvas absorbs moisture and cleaners, while acrylic and vinyl resist them. Use the wrong method, and you could stain, shrink, or degrade your fabric.
If you’re unsure, check your awning’s original purchase paperwork or consult the manufacturer.
2. Read Underside Tags: Manufacturer-Approved Cleaners and Cautions
Look underneath your awning, most come with a sewn-in tag that lists fabric type and cleaning recommendations.
These tags often highlight which chemicals are safe, what to avoid, and how to protect any special coatings (like water repellents or UV blockers).
It only takes 30 seconds to check, and it can save you from voiding a warranty or damaging the fabric.
3. Weather Matters: Avoid Sunny Days to Prevent Soap Drying
Timing is everything.
Clean on a sunny day and you’ll find soap dries too fast, leaving streaks or residue that’s tough to remove. Ideally, work on a cloudy day, in the morning, or when your awning is in shade.
The goal is to give your cleaner time to lift dirt, without baking into the fabric before you rinse it away.
4. Remove Nearby Furniture, Shield Landscaping from Runoff
Cleaning canvas isn’t just about the awning itself.
Soapy water, bleach, or degreasing agents can damage patio furniture finishes, strip paint from wood railings, or harm plants. Move anything sensitive out of the splash zone.
For flower beds or grassy areas, lay down plastic sheeting or tarps to protect them from runoff during rinsing.
Once you’ve checked the fabric type, cleared the area, and picked the right time to clean—it’s time to get started.
Here’s the safest method for regular maintenance that keeps canvas looking fresh without risking damage.
Method 1 – The Safe, Gentle DIY Approach (Best for Monthly Maintenance)
This is the method to use for regular upkeep, ideal for canvas awnings that just need a refresh, not a full rescue. Explore it in detail.
First, Get The Right Tools
You don’t need anything fancy—just the right tools that are gentle on canvas:
- Garden Hose: Use a standard hose with a soft spray nozzle. Avoid pressure washers—they’re too aggressive and can damage the fabric.
- Soft-Bristled Brush: Go for a car wash brush or natural bristle scrubber. Anything too stiff can fray the threads or wear down the surface.
- Mild Laundry Soap: Choose gentle, fragrance-free options like Dawn, Ivory Snow or Woolite. These clean without stripping protective coatings.
- Microfiber Towel: Perfect for wiping down, spot cleaning, or drying. Soft enough to use on sensitive areas without scratching.
This simple setup is all you need for safe and effective monthly maintenance.
Step-by-Step Process: Pre-Wet, Scrub Circularly, Rinse Thoroughly, Dry Fully
- Pre-wet the fabric with cool water to loosen surface dirt and prevent soap from soaking into dry fibers.
- Mix your cleaner, about 3 oz of laundry soap per gallon of water.
- Scrub gently in circular motions, starting from the bottom and working your way up. This avoids streaks and gives you better visibility.
- Rinse top-down, allowing gravity to do the work. Rinse thoroughly to prevent soap residue.
- Dry fully before retracting. Never roll up a damp awning, trapped moisture breeds mildew fast.
Add-On Tips: Vinegar or Baking Soda for Light Stains
For mild discoloration or grime that lingers post-wash, try natural boosters.
A splash of white vinegar in your soap solution can help with mildew smells. Sprinkle baking soda directly on spots, let it sit for a few minutes, and then scrub lightly before rinsing.
When This Method Is Enough vs. When You Need a Deeper Clean
If your awning just looks dusty, a little dingy, or hasn’t faced any heavy staining, this gentle method will do the trick.
It’s perfect for monthly care.
But if you spot black mildew patches, greasy buildup from a grill, or long-neglected grime, jump ahead to the deep-cleaning method.
Method 2 – Deep Cleaning with Bleach (Only for Mold or Stubborn Stains)
When your canvas awning looks beyond basic cleaning—think mildew, ground-in grime, or discoloration—this bleach-based method gets results.
Just proceed with caution.
- Use the Right Bleach Mix: Combine 230 ml (1 cup) of bleach with 60 ml (4 tbsp) of mild laundry soap per 1 gallon of water. Never apply undiluted bleach—it can cause permanent damage.
- Test First on a Hidden Spot: Apply the mix to a discreet area (like near a seam), wait 5 minutes, then rinse and inspect. If there’s no fading or texture change, it’s safe to proceed.
- Always Pre-Soak the Fabric: Wet the entire awning before applying bleach. Dry canvas absorbs too fast, leading to blotchy “burn” spots.
- Apply Gently and Evenly: Use a sponge or soft brush to apply the solution. Scrub lightly and let it sit for 10–15 minutes for deep stain penetration.
- Rinse Twice—Top to Bottom: A thorough rinse is critical. Start from the top and work downward. Repeat if needed to remove all residue.
- Safety First: Wear gloves and eye protection. Use tarps to shield grass, flowers, or patios from bleach runoff.
- Final Step—Let It Dry Fully: Never roll up a damp awning. Ensure it’s completely dry before retracting to prevent mildew from returning.
Done right, this method can restore even badly neglected canvas awnings to near-new condition.
Professional Tricks for Cleaning Without a Ladder
Cleaning tall or hard-to-reach awnings doesn’t have to mean balancing on a ladder. With the right tools, you can stay grounded and still get the job done effectively.
1. Water-Fed Pole Brushes Under $100
A water-fed pole brush combines reach, water flow, and gentle scrubbing in one tool, making it ideal for safe, ground-level cleaning.
- Connects directly to your garden hose
- Extends to reach second-story awnings
- Soft-bristle heads prevent fabric damage
- Often priced under $100 from hardware or home improvement stores
A practical option for routine cleaning, especially for awnings mounted high or over large decks.
Product Recommendation: Window Cleaner Water Fed Pole Brushes
2. Using an Extension Hose Setup
Sometimes, a simple hose upgrade can make all the difference when height is your main challenge.
- Choose a hose nozzle with a shower or mist setting
- Attach to a telescoping pole with a soft-bristle brush
- Clean using long, sweeping motions from the ground
- Avoid high-pressure settings that may damage fabric
This method is low-cost, low-effort, and works well for regular maintenance in accessible areas.
Product Recommendation: Ray Padula Extension Hose
3. When a Pro Cleaning Service Is Worth the Investment
If your awning needs more than a light scrub, or access is unsafe, a professional might be your best bet.
- Useful for multi-story homes or angled rooftops
- Ideal for mildew-heavy, long-neglected awnings
- Pros often use fabric-safe, purified water systems
- Saves time, reduces risk, and ensures even cleaning
While DIY options are effective for upkeep, calling in a pro once in a while can help preserve your awning’s lifespan and appearance.
So, you’ve got the tools and the techniques. Now here’s where technology takes over.
Smart awnings can’t scrub for you, but they make everything around the cleaning process smoother, safer, and a lot more hands-off.
Smart Awnings Aren’t Self-Cleaning (But They Can Help)
Today’s smart awnings go far beyond simple motorized extension.
With app controls, weather sensors, and automation features, they’re designed to be hands-off, until it’s time to clean.
While they won’t scrub the fabric for you, they play a major supporting role in the cleaning process.
- App Control: Use your phone to extend or retract the awning with precision. This makes it easy to fully open the fabric for cleaning or quickly pull it in if weather shifts mid-scrub.
- Pre-Cleaning Access: Full extension via remote or app ensures every part of the fabric is accessible, no need to fumble with manual cranks.
- Post-Cleaning Protection: Retract the awning immediately after it dries to avoid sudden rain soaking it again. Damp canvas attracts mildew quickly if rolled in wet.
- Motor Housing Safety: Keeping electrical components protected during cleaning is easier when you can retract or adjust positions on demand.
- Wind Sensors: Built-in sensors automatically retract the awning during strong gusts, preventing stress or tearing, especially helpful if the fabric is still drying after a wash.
Smart features help you avoid common post-cleaning mishaps and make upkeep much more manageable. But the products you use on the fabric itself are just as important.
Let’s break down what actually works for canvas (and what to steer clear of).

Product Round-Up: What Actually Works for Canvas Awnings
Not all cleaning products play nice with canvas.
The right ones lift dirt without damaging fibers or fading colors, and a few smart add-ons can extend your awning’s life between washes.
Here’s what works (and what to avoid).
- Mild Laundry Soap: Gentle options like Ivory Snow or Woolite are ideal for routine cleaning. They’re soft on fabric, rinse clean, and won’t strip protective coatings.
- OxiClean Outdoor Cleaner: Some use it for deeper stains, but always test on a small patch first. Results can vary depending on fabric age and color.
- Fabric-Safe Waterproofing Spray: After cleaning, a re-coat helps restore water resistance and prevent future mildew buildup. Look for sprays labeled safe for canvas or outdoor fabrics.
- Tools to Avoid: Skip power washers, wire brushes, or any cleaner with ammonia or acetone. These can weaken stitching, strip UV protection, and discolor the fabric.
- Bonus Tip – UV Spray: For added fade protection, use a UV-blocking spray post-clean. It’s especially useful for darker fabrics that face daily sun exposure.
Stick to products made for delicate outdoor fabrics, and you’ll avoid most cleaning-related mishaps right out of the gate.
Next, let’s cover the biggest cleaning mistakes that cause damage, even with good intentions.
6 Mistakes That Will Destroy Your Awning, Don’t Make These
Canvas awnings can take a lot, but they’re not indestructible. Many homeowners unintentionally damage theirs with cleaning shortcuts or by skipping key steps.
Avoid these common mistakes to keep your fabric in great shape year after year.
- Rolling Up Damp Canvas = Mildew Disaster: Even a little moisture trapped in a rolled-up awning creates the perfect environment for mildew. If it smells musty or shows dark spotting after storage, moisture was likely the culprit. Always let the fabric dry fully before retracting.
- Using Bleach on Colored Canvas Without Testing: Bleach can erase stains, and your awning’s color. Before using it, test a small, hidden area to check for fading or blotching. Even color-safe formulas can behave differently depending on fabric age and wear.
- Power Washing Seams or Thread Edges: High-pressure water may seem like a fast solution, but it can fray threads, lift seams, and strip protective coatings. Stick with low-pressure rinses and gentle scrubbing around vulnerable stitch lines.
- Forgetting the Underside: Grease and Bugs Build Up Fast: The bottom of your awning traps rising smoke, airborne grease, and insects, especially near patios and grills. Neglect it, and you’ll see stains, odor, and even insect nests over time.
- Letting Soap Dry in Direct Sun (Creates Streaks and Residue): Soap left to dry before rinsing leaves behind visible streaks and sticky film that attracts dirt. Clean in the shade or during cooler parts of the day to give yourself time to rinse properly.
- Ignoring Hardware, Rust on Arms Leads to Drip Stains Later: Metal hardware collects grime and condensation too. If not cleaned, rust can form and drip onto clean fabric, staining it from the inside out.
Awning care isn’t just about fabric, treat the whole system with care, and you’ll avoid the kinds of damage that force early replacements.
How to Clean Canvas Awnings the Right Way, And Keep Them That Way
Learning how to clean canvas awnings the right way isn’t just about one-time results, it’s about long-term protection.
A quick rinse every month, paired with a deep clean each season, can prevent mold, fading, and costly repairs.
Reapply waterproofing once a year to extend the life of your fabric, and always store your awning dry to avoid mildew.
For any signs of wear, whether in the stitching, fabric, or motor, get a pro to take a look before small issues turn into replacements.
With the right habits, keeping canvas awnings clean and beautiful doesn’t have to be complicated—it just has to be consistent.
And if you’re still deciding which awning to invest in, make it one backed by experts. Visit Marygrove to explore high-performance options that are built to last—and easy to care for.