Installing a retractable awning on vinyl siding requires anchoring brackets into wall studs, sealing all penetrations, and using stainless steel hardware. Proper preparation, flashing, and alignment ensure stability while preventing siding damage, water intrusion, and costly structural issues.
Essential Steps for Safely Installing an Awning on Vinyl Siding
Installing an awning on vinyl siding requires precise stud anchoring and proper tools to prevent warping, leaks, and alignment issues.
Key essentials:
- Locate and mark studs accurately for anchoring.
- Pre-drill and seal holes with exterior-grade caulk.
- Use stainless steel lag bolts to secure brackets.
- Install flashing above brackets to divert water.
- Keep at least 8 ft clearance and align brackets level.
- Add mounting blocks for uneven siding profiles.
Avoid DIY errors like overtightening, skipping flashing, or mounting into siding alone, which risk damage or failure.
Following proper steps or using professionals safeguards your siding and investment.
What Is Vinyl Siding & Why Awning Installation Is Complicated For It
Vinyl siding is made of durable PVC resin designed to withstand weather, resist moisture, and maintain color over time.
It is flexible and lightweight, which makes it ideal for protecting a home’s exterior while keeping costs manageable.
However, this flexibility is exactly what makes mounting an awning more complex: vinyl siding is essentially a shell that covers your home’s structural elements rather than providing direct structural support.
Why It’s Tricky To Mount Heavy Structures Like Awnings
Because vinyl siding is non-structural and expands or contracts with temperature changes, brackets must anchor to the studs beneath it.
Failing to do so risks warping, loose hardware, or water leaks from improperly sealed holes. Common risks homeowners often overlook:
- Warping panels from overtightening screws
- Water leaks from poorly sealed penetrations
- Misaligned brackets increasing stress during wind
Understanding these issues helps you avoid common pitfalls.
Next, we’ll cover a step-by-step installation guide with proven methods to secure your awning while protecting your siding and home.
The Step-By-Step Blueprint For Installing A Retractable Awning On Vinyl Siding
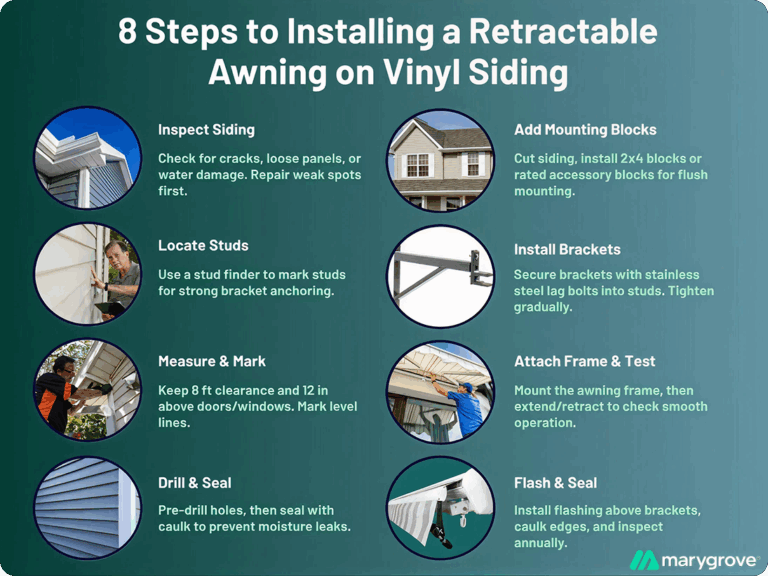
Installing a retractable awning on vinyl siding requires patience and precision to avoid damage and ensure stability.
Here’s a step-by-step approach to get it right the first time.
Step 1: Inspect Your Vinyl Siding First
Before drilling or mounting anything, inspect your siding thoroughly. Look for cracks, loose panels, or water damage.
Any weak points should be repaired, as they can worsen under the stress of an awning’s weight or wind loads.
Step 2: Locate And Mark Wall Studs Properly
Vinyl siding alone cannot support an awning. Use a stud finder to locate studs beneath the siding and mark their positions.
Anchoring brackets directly into studs is essential to handle both static weight and wind forces. Skipping this step risks the awning pulling away during storms.
Step 3: Measure Height And Bracket Placement For Maximum Stability
Measure carefully to ensure proper clearance: at least 8 feet above the ground and 12 inches above doors or windows.
Mark level points for brackets to prevent uneven stress. Misaligned brackets can affect smooth retraction and put undue pressure on the awning arms.
Step 4: Pre-Drill Pilot Holes And Seal For Weather Protection
Drill pilot holes through the siding and into the studs slowly to prevent cracks.
Apply silicone caulk around each hole and bracket base to seal out moisture and avoid leaks behind the siding.
Step 5: Use Mounting Boards Or Blocks For Uneven Siding
Vinyl siding’s profile often prevents flush bracket installation.
For a secure base, cut a section of siding and attach a 2×4 mounting block anchored to the studs, then trim and seal the edges.
Siding accessory blocks from hardware stores can help, but verify they’re rated to handle structural loads.
Step 6: Install Brackets With Lag Bolts Anchored Into Studs
Use stainless steel lag bolts long enough to penetrate the siding and reach deep into the studs. Tighten bolts gradually to avoid crushing or warping the siding beneath.
Step 7: Attach The Awning Frame And Test Operation
Secure the awning frame to the mounted brackets, following manufacturer instructions.
Test the awning by fully extending and retracting it. Confirm the pitch allows rainwater runoff to prevent fabric sagging or pooling.
Step 8: Seal And Flash For Long-Term Protection
Install flashing above the bracket line to divert water away from the hardware. Inspect all seals, add caulk where needed, and plan to check these annually.
Proper flashing prevents water infiltration and preserves the integrity of your siding.
Now that we’ve outlined the process, it’s equally important to recognize the mistakes that derail most installations.
In the next section, we’ll explore costly mistakes that can ruin your awning setup and how to avoid them.
Helpful Resource → Types Of Awnings | Styles, Tech & Placement
Costly Mistakes That Can Ruin Your Awning Setup
Even minor mistakes during awning installation can damage vinyl siding or reduce performance. Here’s what to watch for to avoid costly repairs.
1. Mounting Into Siding Instead Of Studs
Attaching brackets directly to vinyl siding rather than studs is one of the most common and dangerous errors. Vinyl isn’t structural and will not hold under the weight of an awning or wind pressure.
Over time, this can cause the entire unit to detach, taking chunks of siding with it.
2. Using The Wrong Screws Or Hardware
Light-duty screws or ones not designed for exterior use can strip out of studs, rust, or fail altogether.
Always use stainless steel lag bolts to ensure a secure, weather-resistant connection. Incorrect hardware is a frequent cause of bracket movement and eventual loosening.
3. Skipping Flashing And Sealant
Without flashing above the bracket line and proper caulking around each penetration, water can seep behind the siding.
This leads to hidden leaks, mold, and structural rot. A small oversight here can create major water damage over time.
4. Ignoring Wind And Snow Load Considerations
In areas with high winds or heavy snowfall, the force on an awning is significant.
Failing to reinforce the structure or use heavy-duty mounts can result in bending, twisting, or outright collapse. This is especially important for wider awnings that catch more wind.
Related Resource → What Kind of Wind Load Can a Retractable Awning Handle?
5. DIY Electrical Work On Motorized Awnings
Motorized awnings require safe electrical connections.
Attempting this without proper knowledge risks miswiring, water exposure to electrical components, or violating local building codes. When in doubt, hire a licensed electrician for this step.
6. Overtightening Brackets
Cranking down bolts too tightly can warp or crack vinyl siding, especially in temperature extremes. This not only looks bad but also weakens the siding’s protective layer, inviting leaks or insect intrusion.
Avoiding these mistakes is crucial for protecting both your awning and your siding.
If precision and proper technique feel daunting, professional installation can eliminate these risks. Here’s why expert help is often the smartest investment for vinyl siding homes.
Why Professional Awning Installation Is Worth It For Vinyl Siding Homes
Installing an awning on vinyl siding requires precision. Small mistakes can lead to damage or poor performance, which is why professional installation offers significant benefits:
- Accurate stud alignment: Brackets are anchored securely into studs.
- Clean siding cuts: Notches are made without leaving gaps or cracks.
- Proper tools and hardware: Stainless steel bolts and flashing are used.
- Regional reinforcement: Mounts are adjusted for wind or snow loads.
- Damage prevention: Correct torque avoids siding warping and leaks.
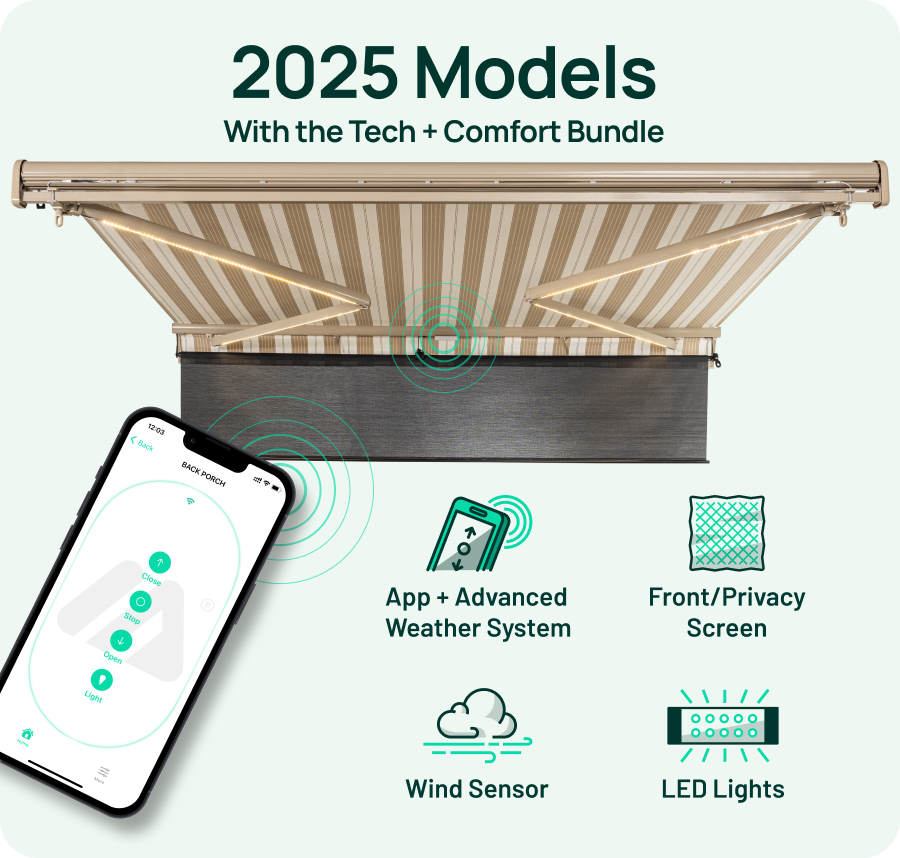
- Seamless motorized setup: Wiring and smart awning sensors are installed safely.
- Warranty protection: Workmanship and materials stay fully covered.
With expert awning installation and regular awning maintenance, your siding stays protected, and your awning performs reliably for years. This approach not only saves time and frustration but also provides long-term peace of mind.
Final Takeaways Before Installing An Awning On Vinyl Siding
Vinyl siding requires careful planning for awning installation.
Anchoring into studs, sealing holes, and using proper hardware are non-negotiable steps to avoid warping, leaks, or structural issues.
Many installation problems come from DIY shortcuts, like missing studs or skipping flashing, which can quickly lead to expensive siding repairs.
A professional installation ensures every detail is handled correctly, from precise stud alignment to weatherproofing.
This approach not only protects your siding but also guarantees your awning lasts for years with minimal maintenance.
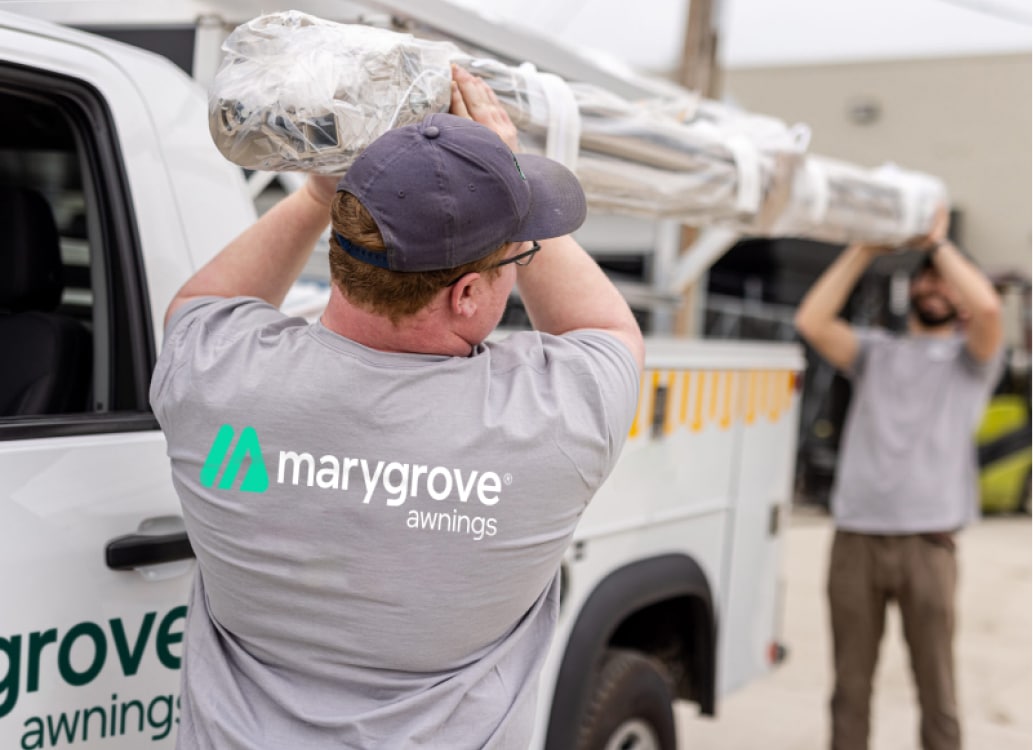
If you prefer a worry-free experience, Marygrove’s in-house team specializes in expert awning installation on vinyl siding.
Our crews handle everything, stud anchoring, sealing, and final adjustments, so you can enjoy lasting shade without the risk.