To measure for an awning, calculate the full wall width, ideal mounting height, and desired projection, then account for slope, clearance, and sun direction to ensure it fits and functions as intended.
How to Measure for an Awning (and Actually Get It Right)
Measuring for an awning isn’t hard, but it is unforgiving.
The wrong width, missed gutter, or overlooked slope can turn your upgrade into a reorder. Here’s what to get right from the start:
- Wall width: Measure full usable width, not just between trim.
- Mounting height: 7′ minimum, 8–9′ ideal for walkable clearance.
- Projection: Match to seating depth and sun angles—west-facing spots need more.
- Clearance: Leave 9–10″ below mount for arm movement.
- Obstructions: Account for gutters, lights, outlets, and downspouts.
- Slope (pitch): Aim for at least a 14° angle for rain runoff and headroom.
- Structure: Ensure the wall is load-bearing and bracket-compatible.
Whether you’re shading a patio, deck, or window, knowing these basics means no surprises on install day and no regrets about size or function.
If you’d like extra help getting started, you can also use this free printable measuring guide to walk through each step: Download the Guide.
Keep reading because this guide shows you not just how to measure, but how to avoid the rookie mistakes, match shade to sun movement, and when to call in the pros.
Let’s get you covered, the right way.
Why Awning Measurement Isn’t Something You Want to Wing
Measuring for an awning isn’t just a box to check, it’s the difference between a seamless outdoor upgrade and a series of avoidable headaches.
Precise measurements are essential to ensure the awning functions correctly, fits aesthetically, and complies with installation standards.
1. Accuracy Matters
Accurate awning measurements ensure optimal shade, proper clearance, and a seamless fit with your home’s design.
They also protect long-term durability and help maintain warranty coverage.
2. Common Consequences of Bad Measurements
Improper measurements can block doors, cause sagging from poor slope, or result in inadequate coverage, leading to delays, reorders, and reduced performance.
3. What’s at Stake
Incorrect sizing can impact usability, safety, and code compliance.
It may void warranties, limit shade, or require costly fixes, making accurate measuring essential from the start.
To measure confidently, you need more than just a tape measure, you need to understand what you’re measuring and why it matters.
That starts with knowing the key terms that shape every decision, from product selection to final install.
Before you begin, make sure you’re speaking the same language as the experts.
Master These Awning Measurement Terms Before You Start
Before you pull out a tape measure, it’s essential to get familiar with the core terms that define a proper awning fit.
These aren’t just jargon, they determine whether your awning performs as intended or causes frustration down the line.
- Width vs. Fabric Width: The full width includes the frame and brackets, while the fabric width is typically about six inches narrower. Confusing the two can lead to ordering an awning that doesn’t fully cover your space.
- Projection: This is how far the awning extends outward when open. It directly impacts how much area gets shaded and should be matched to sun exposure, especially on south- and west-facing walls.
- Mounting Height: The vertical placement of the awning’s base. It should be mounted at least 7 feet high, preferably 8 to 9 feet, to ensure comfortable headroom and a functional slope.
- Clearance: The space required below the mounting point for the awning arms to move freely. Motorized and cassette models typically need 9–10 inches of vertical clearance.
- Pitch: The slope of the awning, which enables rainwater runoff and impacts standing clearance. A 14° pitch is a good standard for performance and longevity.
- Load-Bearing Wall: Not all exterior walls can support an awning. It’s critical to confirm that your chosen wall can handle the weight, especially with materials like vinyl or decorative panels.
- Footprint: This refers to the total shaded area your awning will cover, combining width and projection. Knowing your footprint helps plan furniture layout and traffic flow.
Understanding these terms leads to smarter decisions, smoother installations, and better long-term results.
Once you’re familiar with the language of awning measurement, you’re better equipped to plan a fit that works for your space in practice.
Now, let’s walk through the step-by-step process to apply them with confidence.
A Proven – Step-by-Step Method to Get Awning Measurements Right
Measuring for an awning doesn’t need to be complicated, but it does need to be deliberate. A few smart steps upfront can save you time, money, and installation headaches down the road.
Here’s how to measure like a pro.
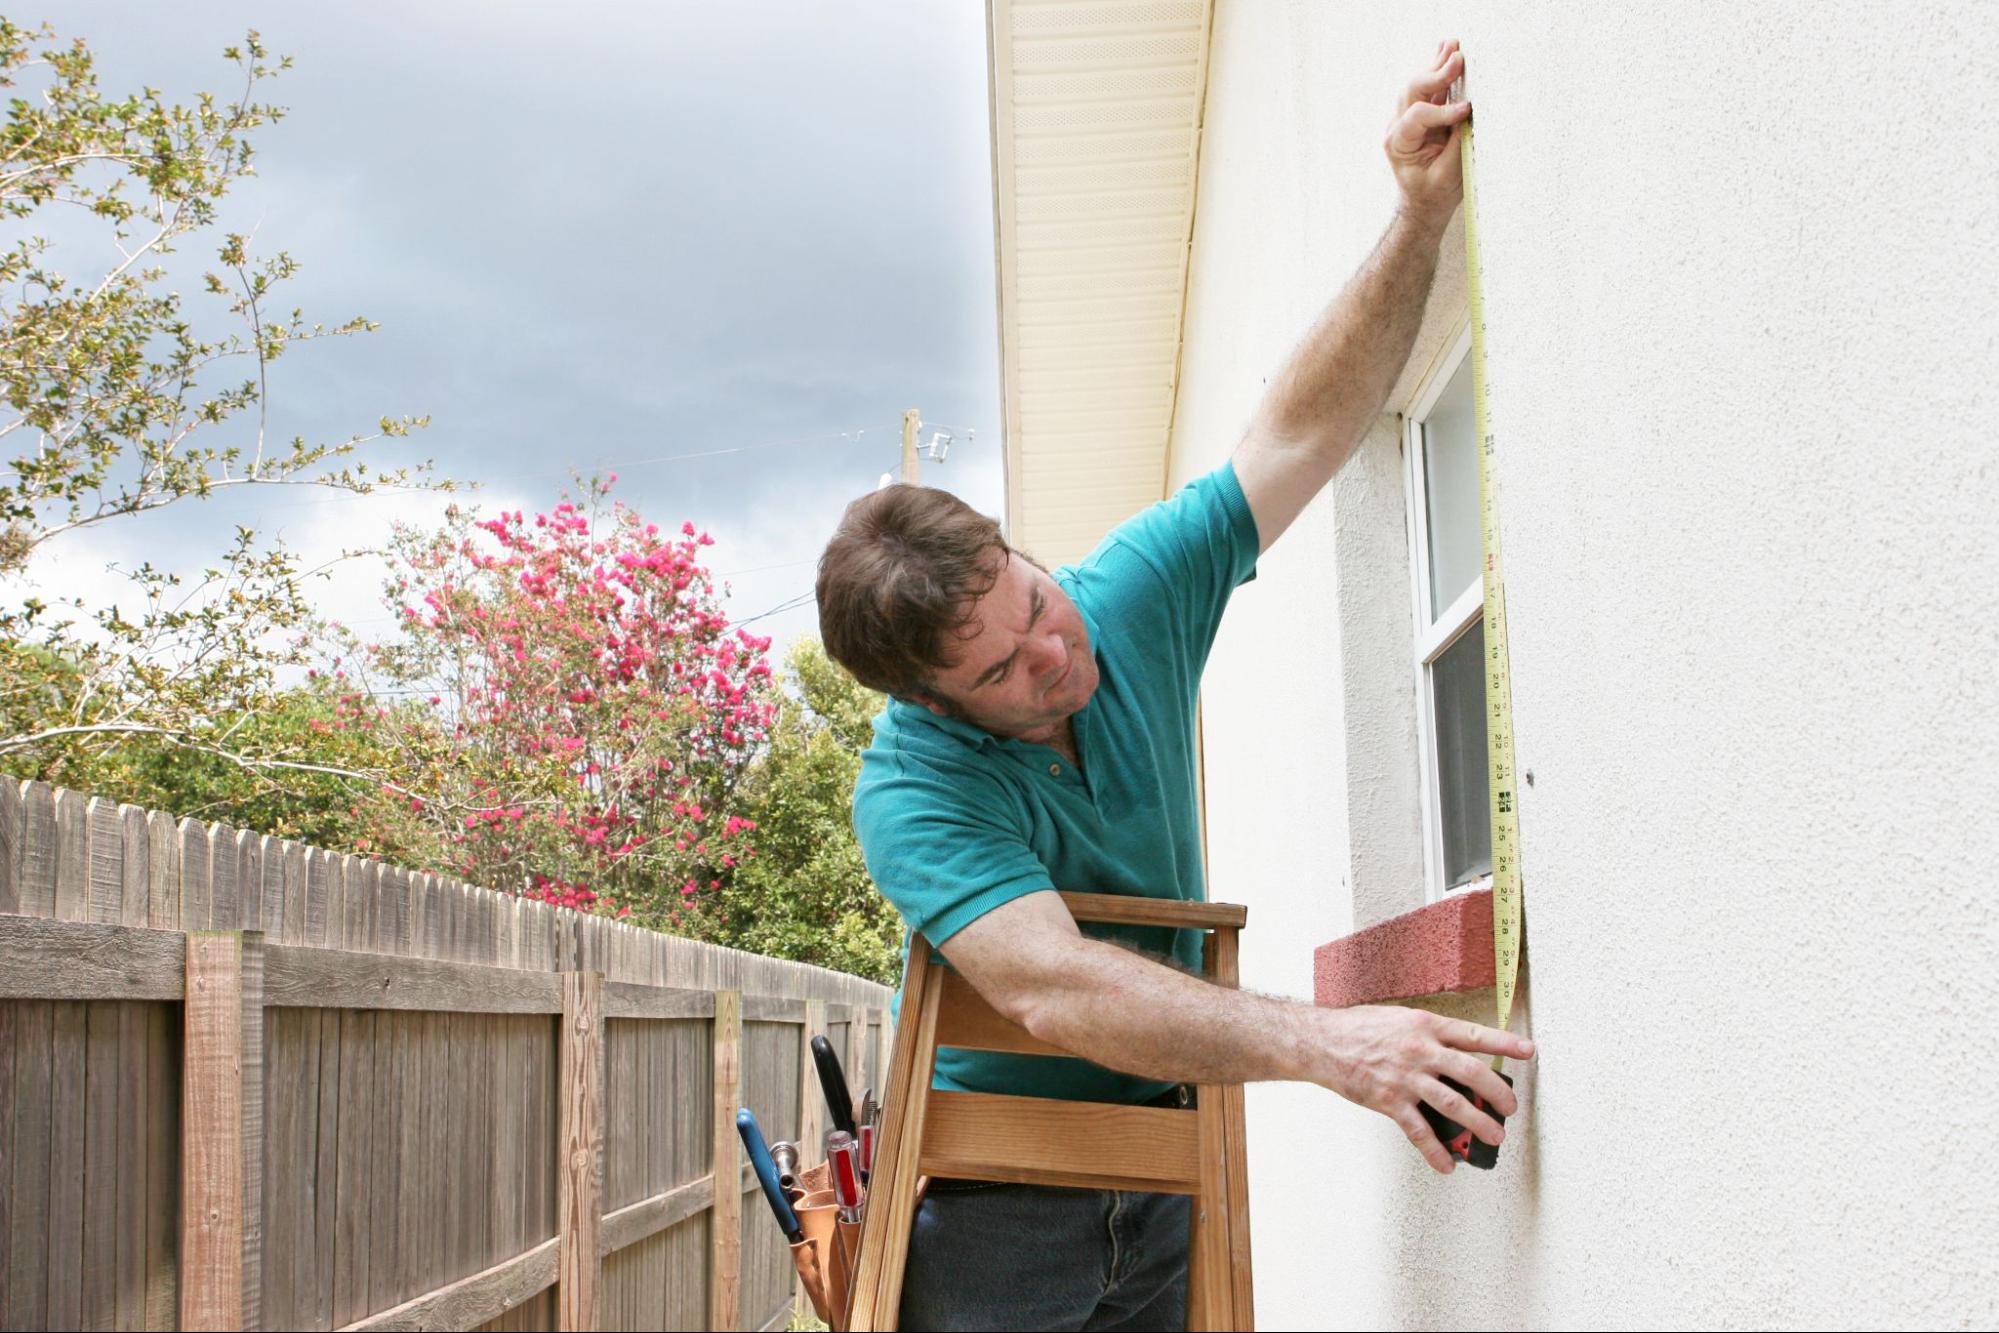
Step 1: Start with Wall Width
Begin by measuring the full width of the wall where the awning will be installed. This is your maximum available space.
Be sure to measure from edge to edge of usable surface, not just between trim or architectural features.
Factor in a few inches of clearance on both sides to avoid interference with gutters, lights, or other fixtures.
Step 2: Identify Any Obstructions
Scan the wall for potential interferences, downspouts, cameras, soffits, vents, or electrical wiring.
If anything crosses your mounting area or could obstruct extension arms, make note of it. These are often the culprits behind mounting errors and structural conflicts.
Step 3: Determine Your Mounting Height and Clearance
Measure from the ground up to the intended mounting point, 7 feet is the minimum for clearance, but 8–9 feet is ideal.
Leave 9–10 inches below for smooth operation, especially with motorized or full-cassette models.
Step 4: Calculate Your Projection
Decide how far the awning should extend based on sun exposure, seating layout, and walk space. West-facing areas often need a 10–13 foot projection.
Factor in slope, as it affects headroom at the front edge.
Step 5: Mark Your Layout on the Ground
Mark the awning’s footprint using chalk, tape, or a laser to visualize coverage and check how it fits with furniture, walkways, and doors.
It’s a simple way to confirm your sizing before committing.
Pro Tip: Use Augmented Reality to Visualize Before You Buy
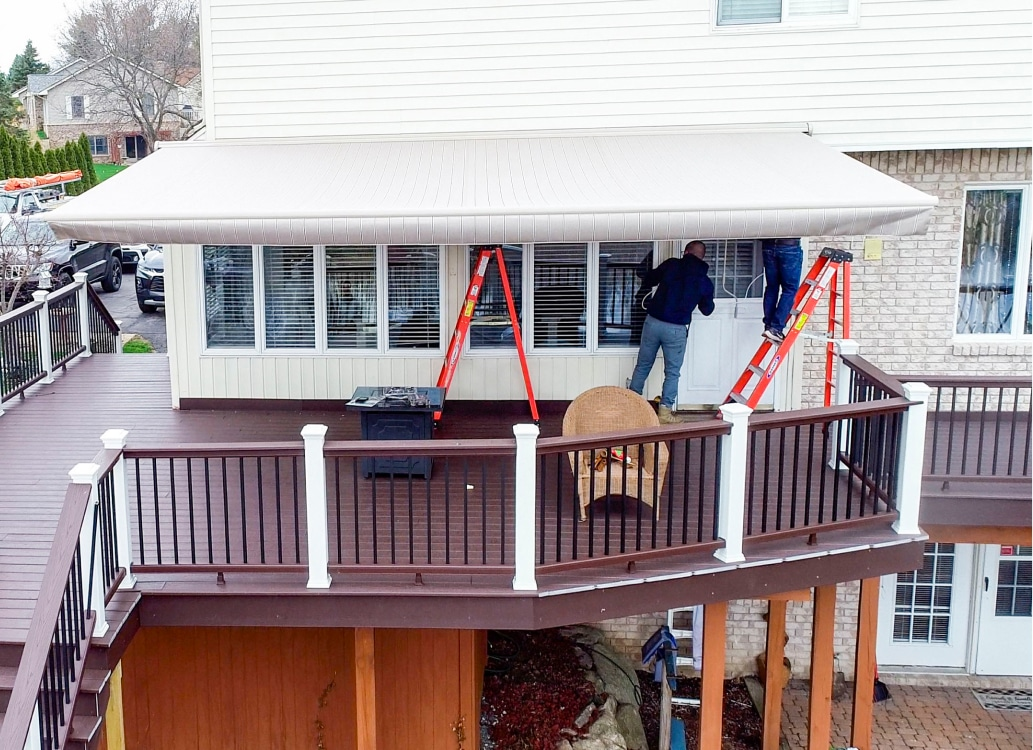
Marygrove’s in-home experts use iPads equipped with AR technology to show homeowners exactly how their awning will look and function, before any drilling happens.
This eliminates guesswork and gives you the confidence that your measurements align with your outdoor goals.
Once you’ve followed the core measuring steps, it’s time to fine-tune your approach based on the unique layout of your space.
Different areas, like patios, decks, windows, and doors, come with their own challenges and measurement nuances.
And just as important as structure is sunlight.
Understanding how the sun moves across your property can make all the difference in getting the right shade, right where you need it.
Measuring for Patios – Decks, Windows, and Doors, With Sun Direction in Mind
Different outdoor spaces require different measuring strategies. Factors like patio grade, deck height, and sun angles all influence the right fit.
Here’s how to adjust your measurements, and why sun direction should never be overlooked.
Patios
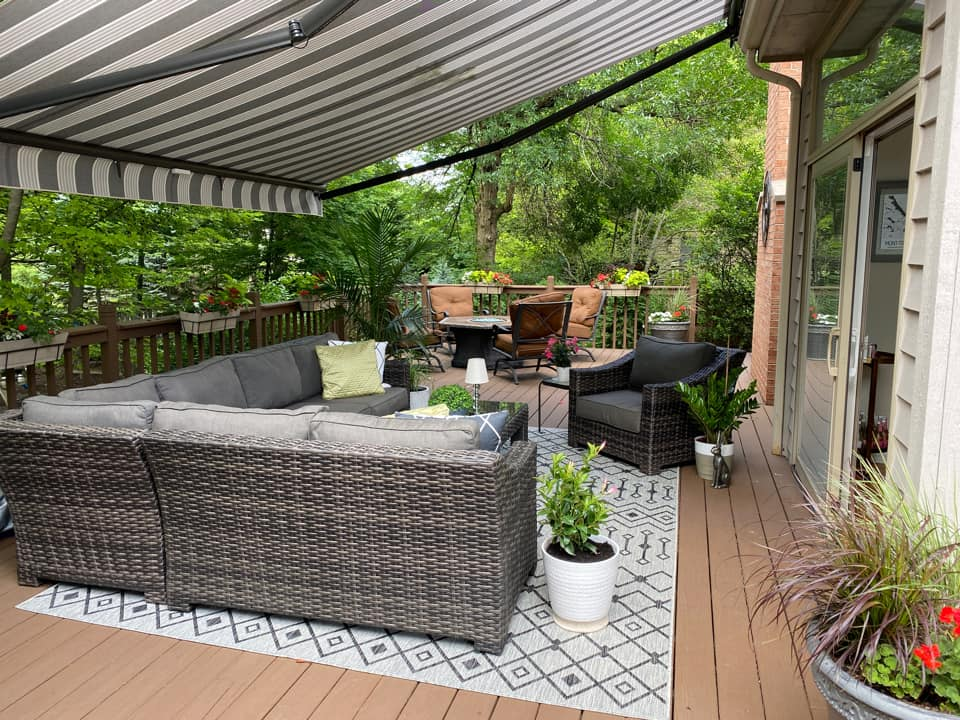
For ground-level patios, the surface is typically flat, but sun exposure can vary wildly. Walk the area at 10am, 2pm, and 6pm to track where sunlight actually hits throughout the day.
This helps ensure your chosen projection provides meaningful shade during peak hours, not just in theory.
Decks
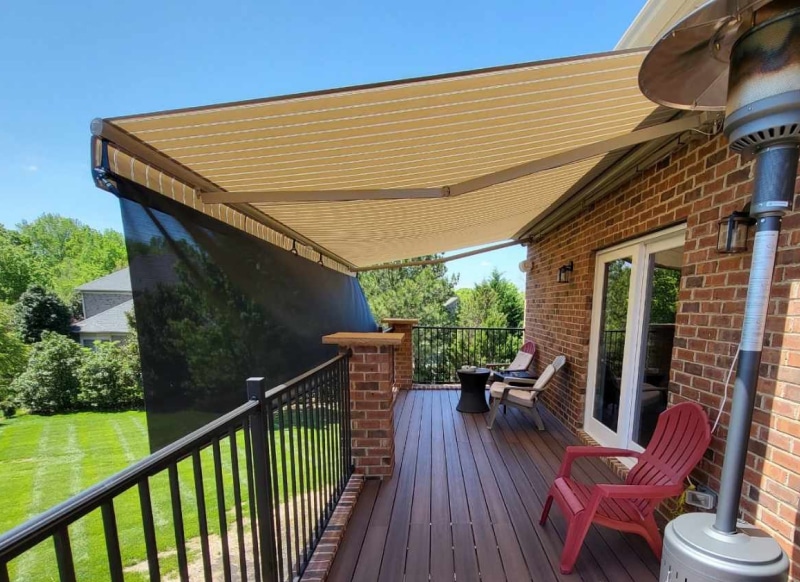
Decks create the most measuring mistakes.
Many people measure from the deck surface, overlooking railing height or the grade change beneath it.
This can make the awning feel too low or cut off standing clearance at the edge. Always factor in total height, including railing and elevation.
Windows
When installing over windows, avoid placing brackets near decorative elements like keystones or above trim lines.
Lighting fixtures mounted above windows can also interfere with arms or cause installation delays. Be sure your wall space accommodates the full frame, not just the fabric. Over a window, you can also choose a retractable window screen.
Doors
Doors need 6–12 inches of vertical space above the frame to allow for slope and unobstructed function.
Always check how the door swings and whether rain runoff might drip directly onto thresholds if slope is misjudged.
Sun Direction
South-facing areas generally benefit from moderate projections, while west-facing exposures demand deeper coverage to combat strong afternoon rays.
One of the most common oversights is measuring without factoring in the sun’s trajectory.
A simple phone compass or solar tracking app can help you map out your shade needs before finalizing dimensions.
Custom-fit measuring means more than just numbers, it means matching the awning to how the space is actually used, throughout the day and even into the evening.
If you’re planning to enjoy your outdoor space after dark, consider factoring in where integrated features like night-time LED lights will shine to enhance both function and ambiance.
Once you’ve adapted your measurements to the layout and sun exposure of your space, the basics are covered, but not every install is that straightforward.
Certain home designs and custom features introduce extra challenges that go beyond standard tape-and-mark steps.
In these cases, measuring requires more tools, more precision, and often, a helping hand.
Special Situations that Call for More Than a Tape Measure
Most awning projects follow a standard measuring routine, but some setups require extra care.
From unusual layouts to advanced features, these situations demand precision tools, added planning, and often, a second set of hands.
1. L-Shaped and Wrap-Around Spaces
For awnings that span two walls or curve around a corner, standard width and projection rules won’t cut it.
Each wall must be measured separately, and angles accounted for to avoid shadow gaps or arm interference. Multi-unit systems or side-by-side installs with reinforced brackets are often needed.
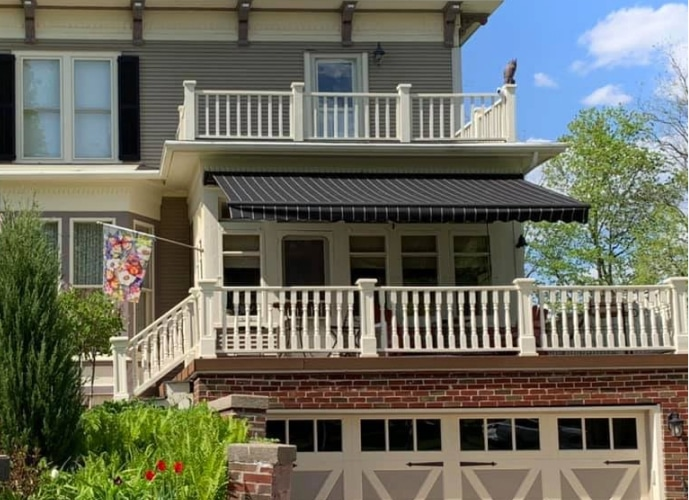
2. Angled Rooflines and Bay Windows
Limited wall space beneath steep eaves or curved bay windows complicates bracket placement.
These cases often call for roof mounts or custom brackets to accommodate the angle and avoid misalignment. Exact measurements are key to a secure and symmetrical install.
3. Motor and Wind Sensor Placement
Wind sensors and motorized systems add another layer of complexity.
These components need their own clearance zones and must be placed away from trim, fixtures, or architectural details.
Skipping this step can impact function and delay installation.
Measuring Alone? Think Twice
Even seasoned pros rarely measure large or complex setups solo.
Long spans, uneven grades, and multiple elevation points require steady hands and careful leveling, something best done with a partner.
Even with the right tools and techniques, certain layouts require a different level of attention. These special cases highlight how critical planning and precision really are.
But just as important as the hard stuff is avoiding the simple, preventable errors that can derail your entire project.
Rookie Mistakes That Can Cost You a New Awning
When it comes to awning measurement, a few small missteps can lead to big problems, misaligned brackets, water runoff issues, or worse, a complete re-order. Here are the most common mistakes homeowners make, and how to avoid them.
- Confusing fabric width with frame width: The total unit width includes brackets and housing, while the fabric itself is narrower. Ordering based on fabric width can leave you with an awning that doesn’t fully cover your intended space.
- Overlooking gutters, lights, and downspouts: These fixtures often sit right in the mounting zone and can block brackets or restrict arm movement. Always do a full obstruction scan before locking in measurements.
- Ignoring stud placement or structural support: Awnings are heavy and need to be anchored into studs or reinforced areas, not just into siding or trim. Skipping this step can lead to sagging or even detachment.
- Assuming the wall can bear the load: Not all surfaces are structurally sound. Vinyl, hollow brick, or foam-backed siding may look solid but require extra reinforcement.
A few extra minutes of planning can prevent days of frustration.
Taking shortcuts during measurement is one of the fastest ways to turn a home upgrade into a costly mistake.
How Marygrove Takes the Guesswork Out of Measuring, and Delivers Shade That Fits for Years
Getting the measurements right is critical, but it doesn’t have to be complicated. A clear, proven process helps ensure accuracy, comfort, and peace of mind from day one.
Professionals who handle everything from consultation to installation understand the product, assess structural needs, and measure with precision to ensure a seamless fit.
Inventory-driven sizing can speed up installation without sacrificing quality. For custom setups, field experience and real homeowner feedback help avoid costly missteps.
Getting the measurements right is critical, but it doesn’t have to be complicated. A clear, proven process helps ensure accuracy, comfort, and peace of mind from day one.
Professionals who handle everything from consultation to installation understand the product, assess structural needs, and measure with precision to ensure a seamless fit. Inventory-driven sizing can speed up installation without sacrificing quality. For custom setups, field experience and real homeowner feedback help avoid costly missteps.
Modern awnings often come with adjustable pitch settings for seasonal flexibility. Some teams even use augmented reality tools to preview exactly how the awning will look and function before installation.
Before install day, a thorough checklist ensures:
- Correct width, projection, and mounting height
- Structural support for lasting durability
- Clearance from gutters, fixtures, and wiring
- Shade alignment with daily sun patterns
- Unobstructed roll-out for arms and fabric
For a full breakdown of what to check before install day, you can also review this installation checklist: Download PDF
Want to take the guesswork out of your awning project? Book a free consultation and let trained professionals help you get the perfect fit, faster install, and reliable shade for years to come.
Let Marygrove handle the details so you can enjoy a perfect fit, faster install, and lasting shade for years to come.